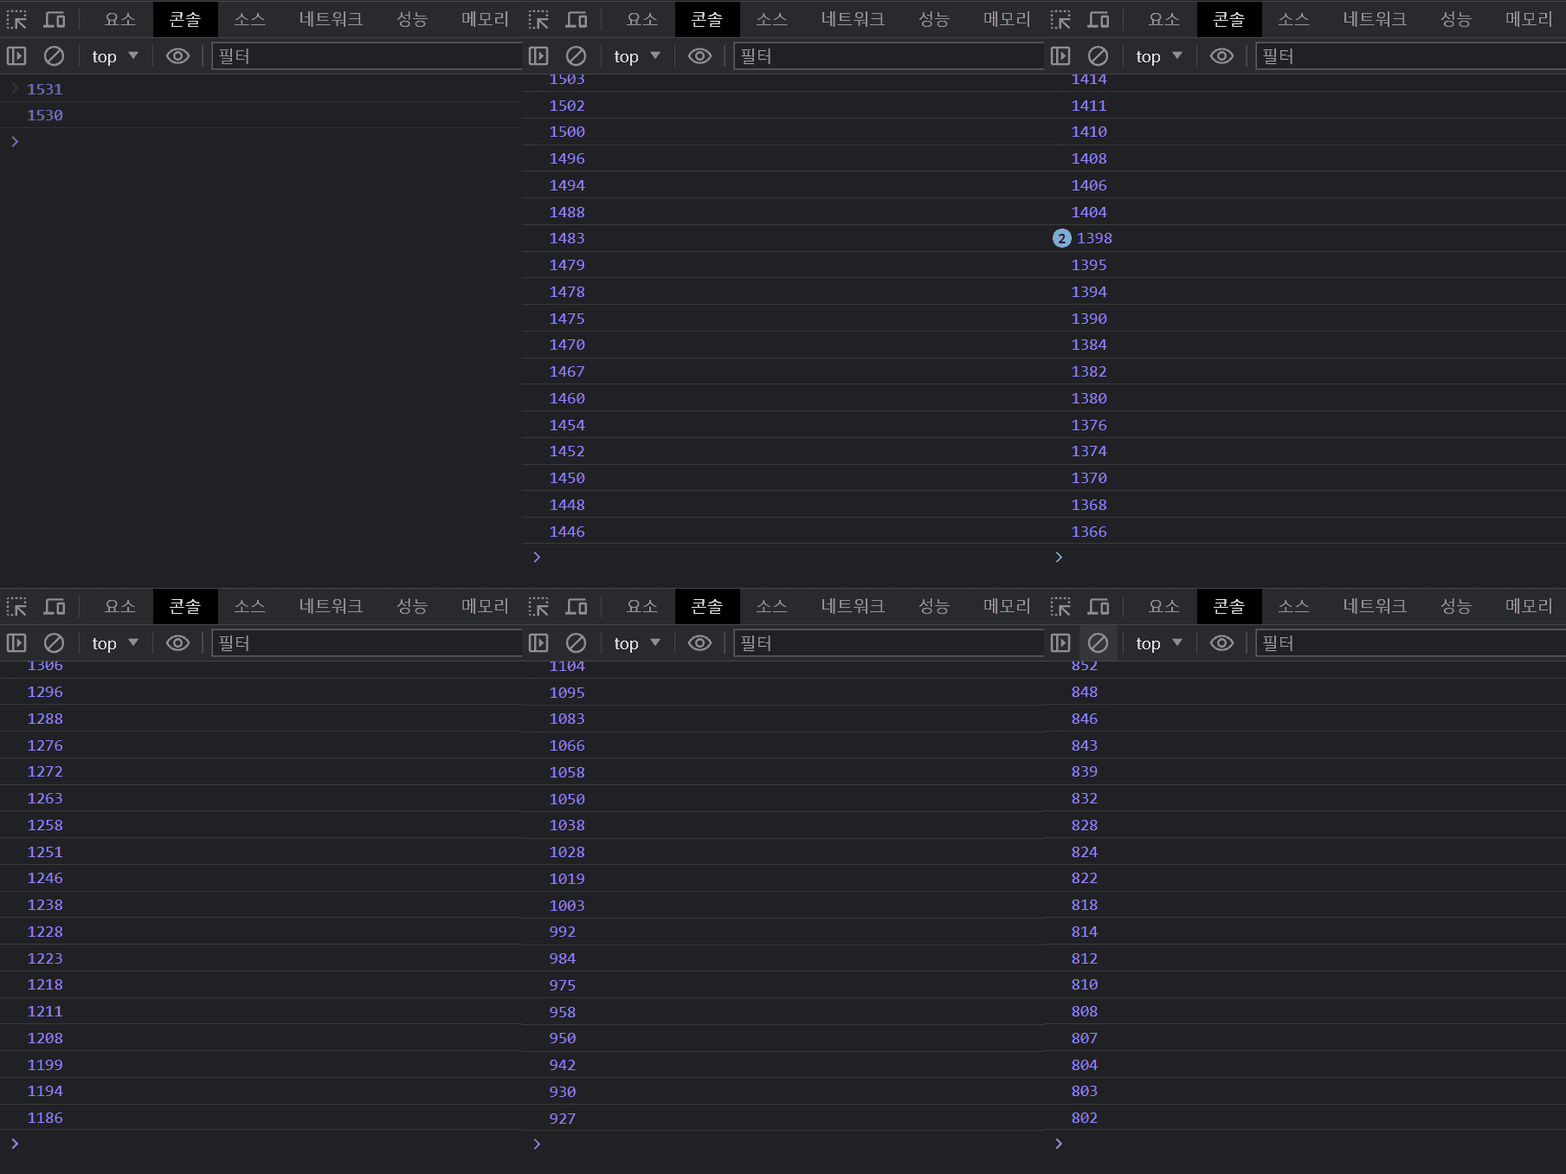
CSS와 관계없이 브라우저의 width에 따라 컴포넌트 내에서 javascript를 다르게 적용하기 위해 resize 이벤트를 사용했다.
resize 이벤트
const [width, setWidth] = useState(window.innerWidth);
const isMobile = width <= 768;

const handleResize = debounce(() => {
	setWidth(window.innerWidth);
}, 200);

useEffect(() => {
    window.addEventListener('resize', handleResize);
    return () => {
      window.removeEventListener('resize', handleResize); // cleanup
    };
}, []);- resize 이벤트는 document view의 크기가 변경될 때 발생한다.
- state를 생성해서 resize 이벤트가 발생할 때마다 window.innerWidth로 setState를 한다.
- 언마운트 시에는 resize 이벤트를 제거하여 메모리 누수를 방지한다.
debounce 적용하기


const handleResize = debounce(() => {
	setWidth(window.innerWidth);
}, 200);
브라우저의 width가 1px이라도 변할 때마다 이벤트가 호출되는 것을 방지하기 위해 loadsh를 설치하여 handleResize 함수에 debounce를 적용했다. debouce를 적용하면 연속해서 호출되는 함수 중에서 가장 마지막 이벤트만 실행된다.
resize 이벤트 react에 적용하기
const isMobile = width <= 768;나는 isMobile이라는 변수를 선언해서 반응형 페이지를 구현했다.
<thead>
  <tr>
    {isMobile
      ? resvMobileTableHead.map((title, index) => (
          <th key={index}>
            {title}
          </th>
        ))
      : resvTableHead.map((title, index) => (
          <th key={index}>
            {title}
          </th>
        ))}
  </tr>
</thead>
관리자 페이지에 table을 구현했는데 모바일에서 볼 때 table의 항목이 너무 많아 레이아웃이 깨지는 등 보기 불편했다. 그래서 모바일 사이즈인 경우에 table의 항목을 줄여주고 싶어서 삼항연산자를 이용해서 브라우저 사이즈에 따라 각기 다른 배열에 map을 사용하도록 했다.
{isMobile ? <Mobile /> : <Web />}isMobile 변수를 활용하여 브라우저 사이즈에 따라 각기 다른 컴포넌트를 렌더링 할 수도 있다.
참고 문서
resize - Web API | MDN
resize 이벤트는 document view의 크기가 변경될 때 발생합니다.
developer.mozilla.org
[React] 브라우저 크기 감지, throttle, debounce
바로 직전 포스팅에서 antd 그리드를 이용해서 브라우저 화면 사이즈에 따라 반응하는 페이지를 만들어 보았다. 정확히 768px에 바뀌는지 보려고 현재 화면의 너비를 리액트 컴포넌트에 띄워주려
9yujin.tistory.com
[React] resize 이벤트 다루기
+ 2022.07.13 추가 댓글을 무시할까 하다가 아무래도 나의 작고 다 쓰러져가는 구멍가게 같은 블로그에 이런 의견이 들어오는 일이 또 있을까 싶어 늦게라도 피드백을 남겨본다. 먼저 이 글은 티스
db2dev.tistory.com

